

How To Clean Cooling Coil In Acer Aspire E 15
Introduction
After long time in use, the laptop becomes hotter than usual due to poor ventilation system.
To make laptop cooler, more stable and longer life expectancy. we should practice maintain its ventilation system
-
-
This laptop was bought in 2008 and it have never been disassembled to maintain. Before maintaince, we should turn it off and unplug it for Air conditioning source.
-
-
-
At present, turn the laptop upside-down. Nosotros push 2 buttons to take out the battery. Then remove 6 screws to open up the cover equally shown in the moving picture
-
-
-
Later unscrewing, we lift up leftside of the cover and gently shake it to take out.
-
Have care of the small-scale plastic patches. Exercise not make them broken. They help to lock the cover firmly to the bottom housing of the laptop
-
-
-
This model is designed perfectly for maintenance. We can see all the main components after removing the cover.
-
Nosotros tin can maintain the ventilation system without removing RAM, HDD, Wifi Menu, keyboard like other models.
-
-
-
In that location are four screws numbered from one to 4. Nosotros should remove them in order of sequence, from 1 to 4. Use screwdriver to twist anticlockwise
-
-
-
Unplug Fan jack. Then gently elevator up the heat sink and pull information technology towards you to accept it out
-
-
-
CPU use Thermal Gum and GPU use Thermal Pad to transfer oestrus to the heat sink. After years, they become dry out, which reduce ability to transfer rut. We have to supersede both Gum and Pad.
-
Use soft fabric (or wet tissue), soft cotton ear-pick and Acetone to make clean 2 chips (CPU, GPU), heat sink thoroughly.
-
-
-
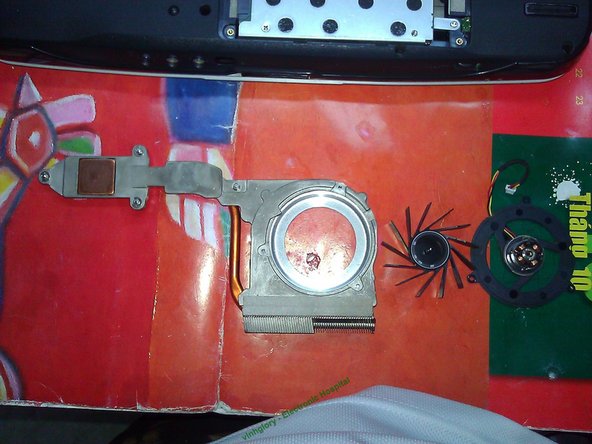
Remove these 3 screws to take the fan out of housing
-
-
-
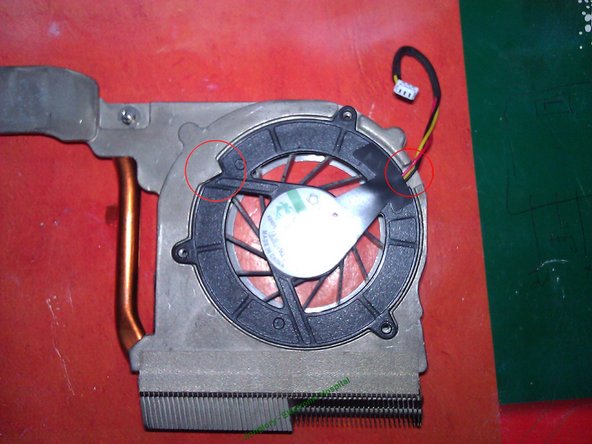
Take out the fan wing past lift information technology up. In that location'due south a magnetic band that sucks stator curl. We can experience a niggling hard to pull out. Just give some more force and we can accept out easily without breaking it.
-
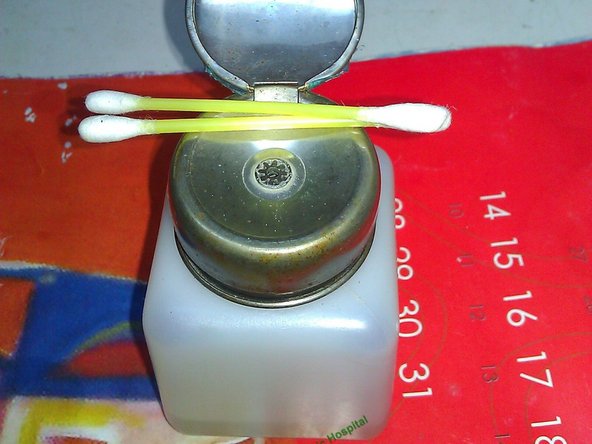
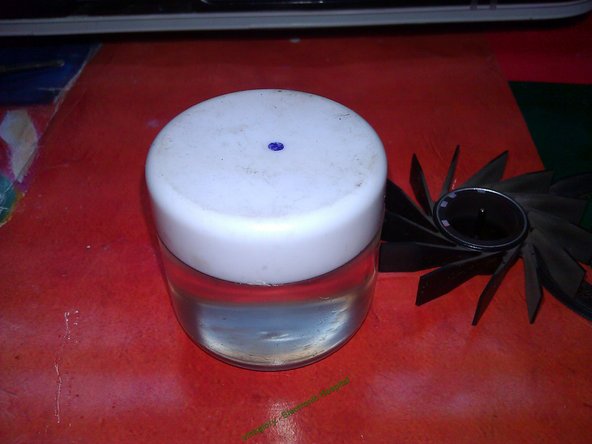
Afterwards, use Grease (a kind of component to lubricate fan axis). This help to make fan operate silently and fast
-
Recall to clean fan wing, fan base thoroughly
-
-
-
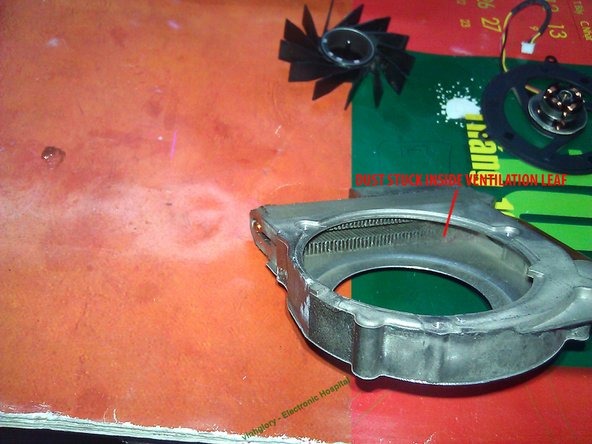
Now we clean the housing. Remove the dust stuck inside and outside ventilation leaves by a brush. Using a high pressure level pump to clean is much better in this situation
-
-
-
Subsequently cleaning fan and its housing. Nosotros assemble fan wing dorsum to fan base. The n assemble fan set back to the housing.
-
Take intendance of the marks to assemble the fan correctly
-
-
-
Apply new Thermal Glue and Thermal Pad to CPU and GPU chips. Be fix to reassemble the heat sink!
-
-
-
Put back oestrus sink into its right position. Adjust it so that screws lay on their right position.
-
Spiral in guild of sequence, from 1 to 4 firmly
-
Reconnect the fan jack to the fan outlet on the mainboard
-
-
-
Reassemble the back cover
-
Reassemble the bombardment
-
Now information technology is finished. Open your laptop. Start the OS. Use some applications such as "CPUID Hardware Monitor", "Temp core", "Everest Ultimate Edition" to check temperature of CPU, GPU, Hard disk, RAM. Their temperature is at present lower than before.
-
End of guide! Cheers you for your attention!
-


Conclusion
To reassemble your device, follow these instructions in opposite gild.
Embed this guide
Cull a size and copy the lawmaking beneath to embed this guide as a modest widget on your site / forum.
Preview

Source: https://www.ifixit.com/Guide/How+to+clean+and+maintain+Acer+Aspire+4920+ventilation+system/28071
Posted by: darbyacend1994.blogspot.com
0 Response to "How To Clean Cooling Coil In Acer Aspire E 15"
Post a Comment